Jewellery is one of the hardest products to photograph, and one of the most important to get right. A ring is small, shiny and full of tiny details that buyers zoom in on: the setting, the cut of the stone, the finish of the metal, the meenakari work on a jhumka. A slightly blurry or wrongly coloured photo can make a well-made piece look cheap.
This guide is about getting jewellery photos that are sharp, honest and attractive, whether you shoot them yourself or generate them from a product photo.
Why jewellery is so difficult
Three things work against you.
- Size. Most pieces are small, so your phone has to focus very close, where depth of field is shallow and blur is easy.
- Reflection. Polished gold, silver and stones act like mirrors. They reflect your room, your phone and you.
- Colour. Yellow gold, rose gold, oxidised silver and kundan all shift colour under different lights. A warm bulb can make silver look gold.
Each of these has a fix.
Lighting for shine without glare
Jewellery needs soft, large light sources. Small, hard lights create harsh hotspots and black reflections.
- Diffuse the light. Shoot near a window with a sheet of tracing paper or a thin white cloth over it. A cheap light tent does the same job.
- Surround with white. White card on both sides of the piece gives metal clean white reflections instead of showing your room.
- Use one colour of light. Do not mix daylight with yellow room bulbs. Switch off indoor lights when using a window.
- Add black card for edges. On bright silver, a strip of black card at the side adds a dark line in the reflection that defines the shape.
If you can see yourself or your phone reflected in the piece, move the white card closer or shoot from a slight angle.
Getting sharp close-ups
Buyers zoom into jewellery more than almost any other category. Your close-up has to hold up.
Do not use digital zoom
Digital zoom just crops and enlarges, which adds blur. Move the phone physically closer, or use your phone's dedicated macro or telephoto lens if it has one.
Steady the phone
At close range, the tiniest shake shows. Use a stand or rest the phone on a stack of books. Use the self-timer so tapping the shutter does not move the phone.
Focus on what matters
Tap to focus on the main stone or the most detailed part. On a ring, that is usually the centre stone. On a necklace, the pendant.
Keep the full piece in some shots
Close-ups sell detail, but buyers also need to see the whole piece. Mix close-ups with at least one full view.
A complete jewellery image set
| Image | Purpose | Background |
|---|---|---|
| Main packshot | Clear front view of the full piece | Clean white or neutral |
| Angle view | Shows depth, setting height, profile | Clean white or neutral |
| Close-up | Stone cut, metalwork, finish, hallmark | Neutral |
| On-model | Scale and how the piece sits when worn | Soft, simple setting |
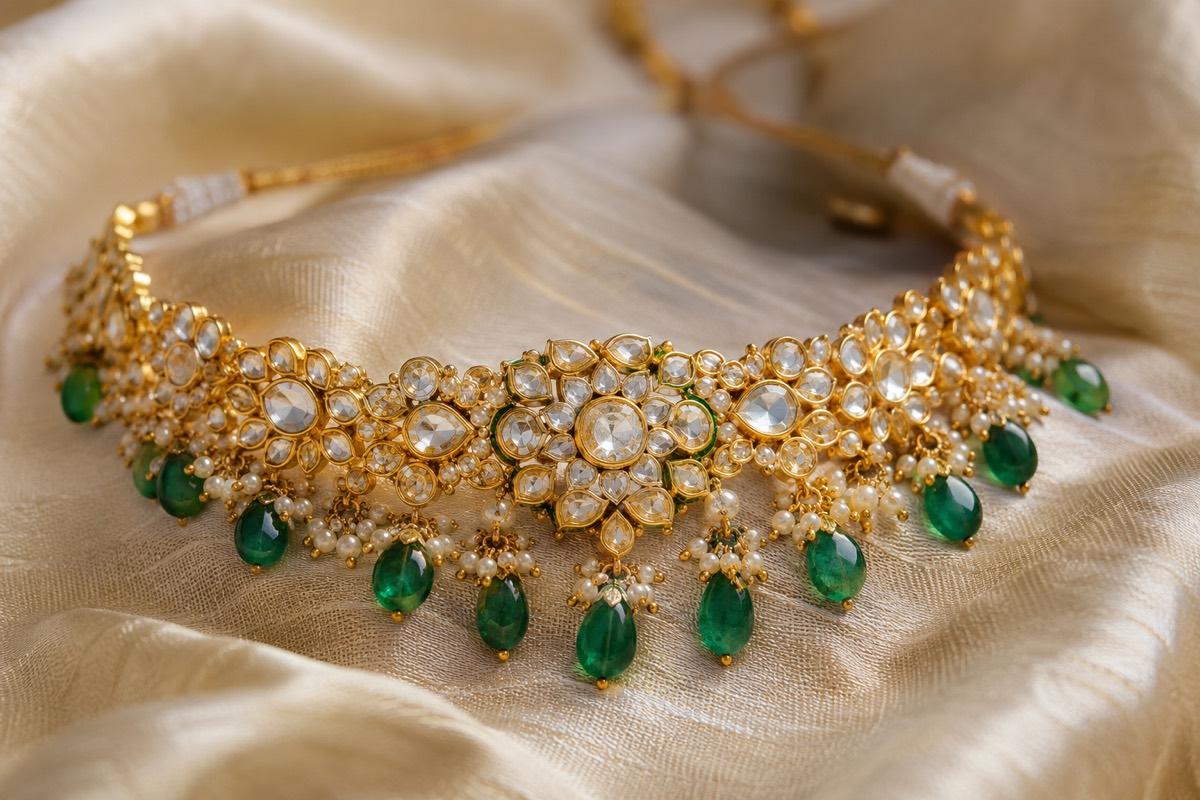
| Styled scene | Mood and gifting appeal | Tasteful lifestyle scene |
For marketplace main images, follow each platform's background rules. Amazon and Flipkart need pure white for the main image; our Amazon India image guide has the details.
Keeping stones and metal true
Honesty is critical in jewellery. A buyer who receives a piece that looks different from the photos will return it and may leave a poor review.
- Do not over-saturate stones. Make emeralds look like emeralds, not neon green glass.
- Do not add sparkle that is not there. Star filters and added glints set expectations the real piece cannot meet.
- Check metal tone in daylight. Compare the photo with the piece side by side near a window.
- Keep stone count and shape exact. If a band has seven stones, every photo should show seven.
Watch out with AI tools
Generic AI image tools can quietly change jewellery: add stones, change a cut, blend a band into the skin, or turn a matte finish glossy. This is worse than a bad photo, because it misrepresents the product. Always compare a generated image with the real piece, detail by detail, before you list it.
Shoot every finish separately
If the same design comes in gold, rose gold and silver tone, photograph each finish on its own. Never recolour one photo to create the others; the reflections and stone colours change with the metal, and buyers notice the difference when the piece arrives. The same goes for stone colour variants, such as a ruby and an emerald version of one pendant.
On-model shots show scale
A pair of earrings on a white background could be 1 cm or 5 cm long. Buyers cannot tell. A photo of the earrings worn answers that instantly. Rings on a hand, necklaces on the neck and bangles on the wrist all give buyers a sense of size and style that packshots alone cannot.
For on-model jewellery, keep the styling simple: modest necklines, minimal other jewellery and even, bright light on the skin, so the piece is the clear focus. Cropping the face out or keeping it partly in frame keeps attention on the jewellery.
How VisionLab helps
VisionLab has jewellery-specific modes. Studio Shot creates clean, marketplace-ready packshots on neutral backgrounds from your product photo. Worn by Model shows the piece on a hand, neck or ear so buyers see scale. You can pick camera angles, including close-up views, to build the full image set. The jewellery pipeline is tuned to keep the piece's shape, colour and detail intact, but as with any tool, check every result against your real piece before listing.
New accounts get 5 free credits to start, no card needed. Start free and see your pieces in a proper studio shot.
Frequently asked questions
How do I stop reflections in jewellery photos?
Use a large, soft light source like a diffused window, surround the piece with white card, and avoid mixing daylight with room bulbs. Shooting from a slight angle also hides your own reflection.
How can I take sharp jewellery close-ups with a phone?
Move the phone physically closer instead of using digital zoom, use a stand and the self-timer, and tap to focus on the main stone or detail.
Should jewellery be photographed on a model?
Yes, as additional images. On-model shots show scale and how a piece sits when worn, which packshots on white cannot.
Can AI change how my jewellery looks?
Generic AI tools can alter stones, cuts or finishes. Use a tool built to preserve product detail, and always compare generated images with the real piece before listing.